

2. Small Build
Tripod
- Start with the tripod. While big build cameras have both a pan head and tripod, our small build cameras combine these to one unit. Once you spread the legs, lock the spreader by twisting the grey ring on the top of the spreader.
- Like the big builds, there are two stages to the legs. Each stage has lock/unlock knobs. Once the tripod is set to the desired height, lock the knobs.
Camera
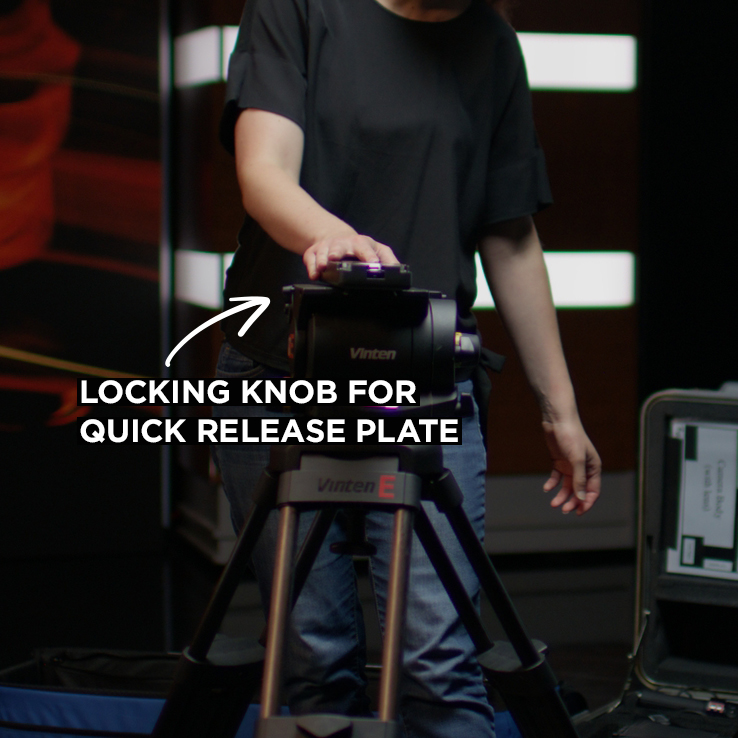
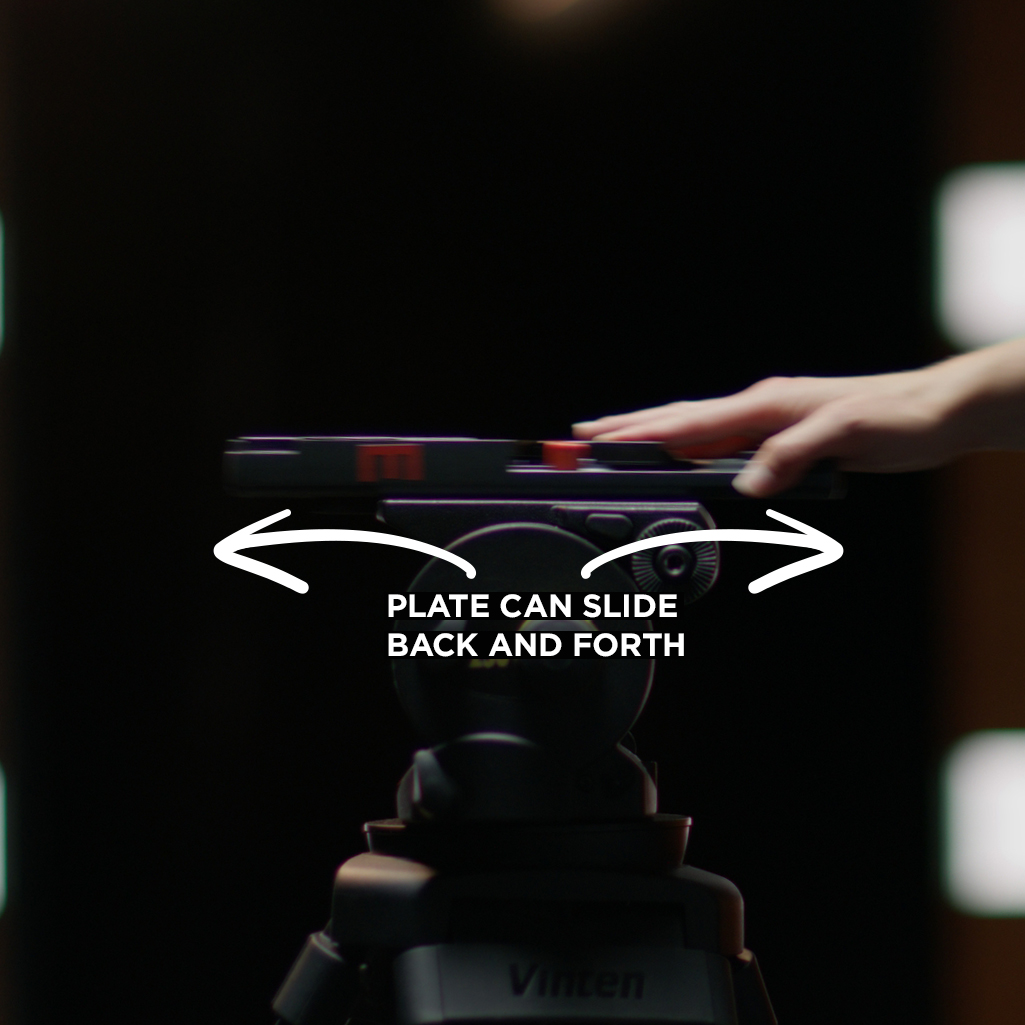
- Adding the camera is the next step. The camera body is identical to a big build, but with the addition of a smaller lens. Align the v-shaped shoe on the quick release plate and bottom of the camera body to attach camera to tripod. A “click” sound will be heard when locked into place. Give it a little tug just to make sure everything’s locked down and good to go. We can add our viewfinder onto the back, again with the v-shaped shoes aligning together.
Tripod Arms
-
Next, the arms to the tripod. it does not matter which side the arms are added to. Height and position also does not matter, as it is entirely up to the operator’s preference. Next, add the clamps for zoom and focus. They are identical and can be placed on either side. Make sure that the gap between the two halves form a diamond shape. The diamond will wrap around the arms.
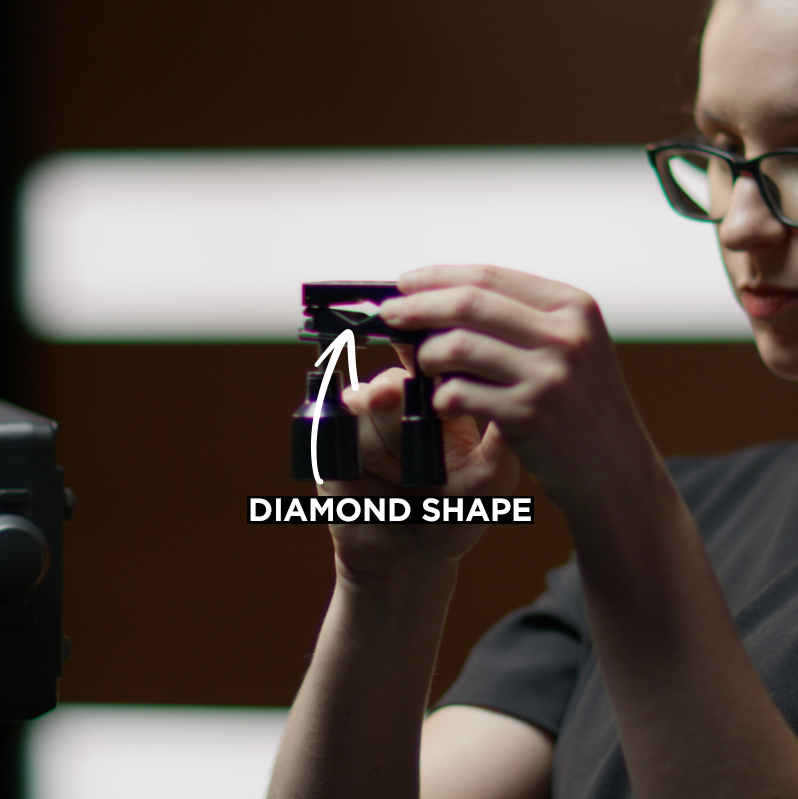 Secondly, make sure the tabs are on the bottom.
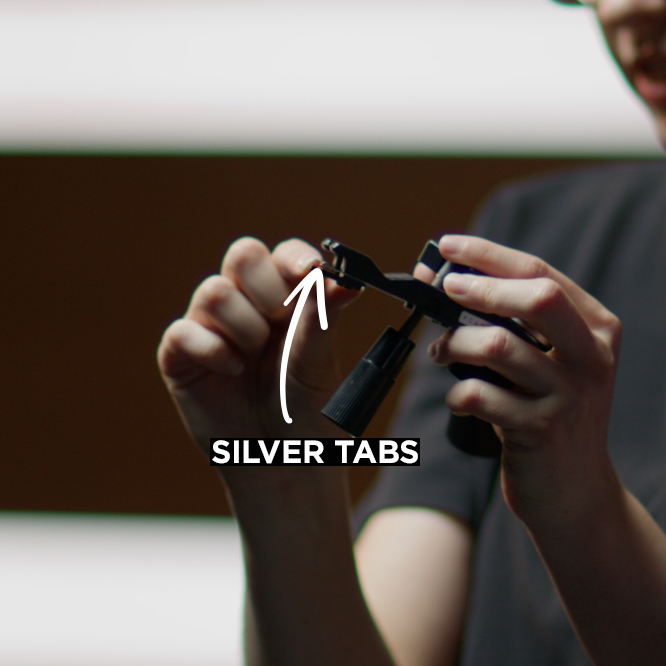 The pin will slide in between the tabs and the enclosure. Tighten the two screws on the clamp evenly. Tightening one more than the other will cause the screws to bow and become unusable.
 -
Once the clamps are attached, zoom and focus controllers will screw onto the rosettes located on the clamps.
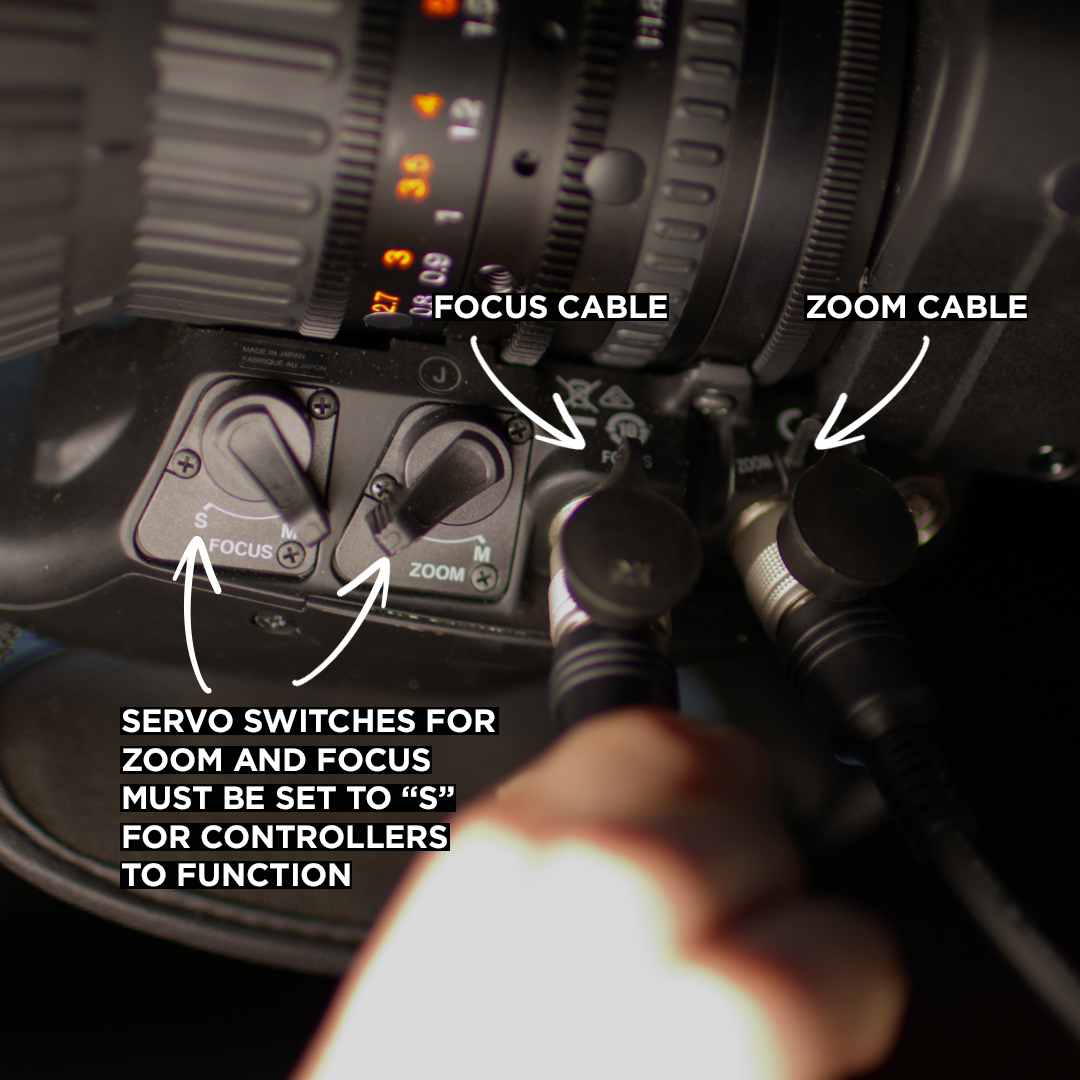
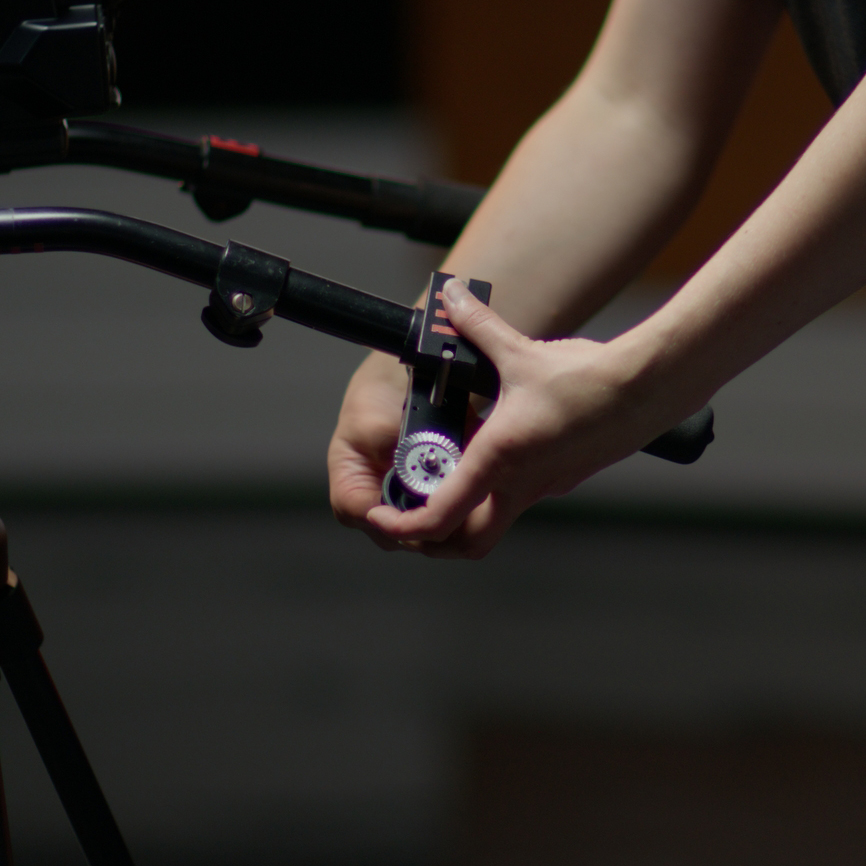 Line the teeth up and screw it in finger tight. Wrap the slack of the cable around the arm once or twice. The cable end plugs in under the lens servo. The zoom cable goes into the port labeled “zoom” and focus cable into “focus.”
Optical-con
- The very last step is to attach the Optical-Con cable to the camera. Before doing so, verify all cable connections on the camera are secure by a gentle tug. Connect the Optical-con cable and put the caps into each other. You have now built a small build camera.
Variation
We do have one variation of the small build camera. The digital focus demand is replaced with an analog focus cable. While it functions the same, the setup is slightly different. A stiff cable runs from the clamp on the arm to an adapter on the lens. Simply screw both ends into place.